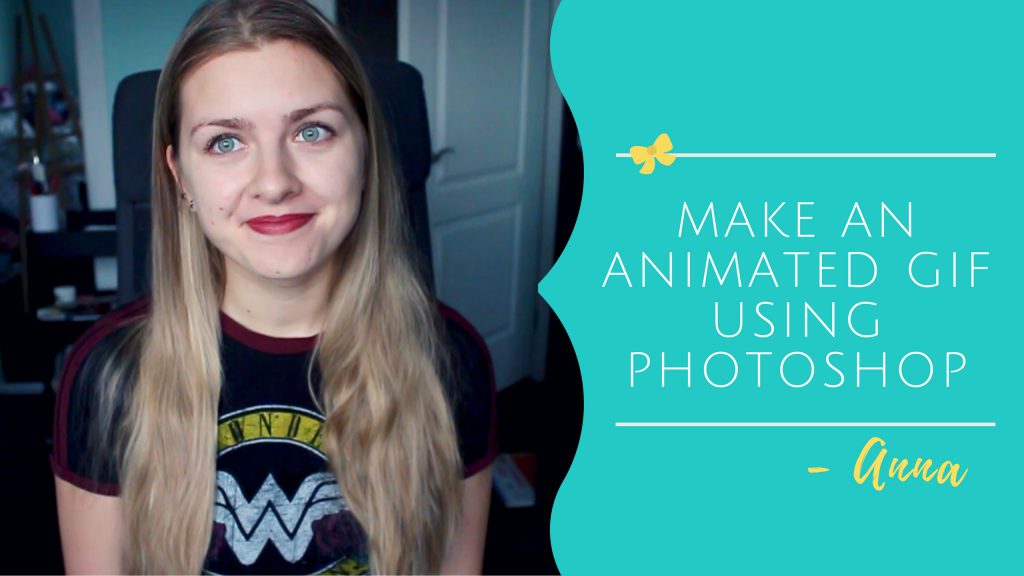
In this blog post, I will help you get closer to creating your own simple animated GIF in a just a few easy steps!
Complete Video Tutorial
I created a 30 minute full walk-through tutorial on this topic on Skillshare!
If you are not familiar with Skillshare yet, it’s an online platform for people to learn everything in Photography, Design, Drawing, Filming and many other topics!
It’s a PAID platform, however, with my personal link, you will get 2 free months of Skillshare 🙂
So you can watch my course and many others for free!
Or you can download my full video lesson here and keep it forever 🙂
Here is an introduction Video to my lesson:
So, what is a GIF?
Wikipedia says,
” The Graphics Interchange Format (better known by its acronym GIF/ˈdʒɪf/JIF or /ˈɡɪf/GHIF) is a bitmapimage format that was developed by a team at the bulletin board service (BBS) provider CompuServe led by American computer scientist Steve Wilhite on June 15, 1987.[1]“
In other words, it is a file format that supports static and animated images!
You see GIFs all the time, and I’m sure you have sent a couple of funny ones to your friends on Facebook Messenger 😉
How To Make an Animated GIF in Photoshop:
Now, we will go through the basic steps of how to create an easy animated GIF in Photoshop.
Just like the one I made below:
First things first:
Setting Up Your Workspace
You need a couple of images ready, or better yet a great idea for your upcoming project!
- Have your Photoshop file set up.
- Go to Window –> Workspace –> Motion.
- You will see a “timeline” window pop up at the bottom of your screen! Great 🙂
- Now click “Create Video Timeline”
- You can work from here if you like, however, if you are new to this, I would suggest clicking on the squares icon at the bottom. This is your workspace now!
Preparing Your Layers
- Work as you usually do with layers! You can use as many layers as you like, 20 layers don’t equal to twenty keyframes!
- When you have all your layers ready, you will notice that the little square in your timeline looks exactly as your canvas right now! Congrats, you have your first keyframe! 🙂
- Now click on the icon within Video Timeline that looks like the one we are all used to “new layer”, and a new square will pop up with exactly the same image as your canvas! Great, now you have 2 keyframes!
- Go ahead and turn of opacity for the layers you only want visible on the first keyframe, and create a new image or tweak the previous one.
- Now the 2 images are different, and you can press the “play” button, or hit your spacebar to view your brand new gif!!
- bonus tip: in the bottom left corner you can decide if you want it looping once or forever! I suggest the forever option if you will only have 2 keyframes as I do in my GIF 🙂
Exporting
To export this file for web, go to File–> Export –> Save for Web.
Now you are all good to go!!
Share your GIFs with us here, I would LOVE TO see them all! 🙂
Next Steps
Don’t forget to check out Skillshare to go through my course for completely FREE just for YourArtPath.com Blog Readers!!
Also, check out our other tutorials:
- “Create Your Own Monster Character in 9 Simple Steps”
- “How To Art – 7 Beginner Steps to Improve Your Drawings”
- “Figure Drawing Lessons (3 Steps) – The Secret Course”
- “Step-by-Step How to Draw People (stylized)”
- “How To Draw Portraits Step by Step”
Follow me on social media to stay up to date!
Facebook, Twitter, Pinterest, Instagram.
And subscribe to my email list to receive some awesome freebies and get a weekly update of my new articles 🙂
Good luck on Your Art Path,
– Anna.



 You need a couple of images ready, or better yet a great idea for your upcoming project!

3 Responses
Hi! Are you using 2017 or 2018? I upgraded to 2018 and I’m not getting this to work. Now granted I’m insane on the holiday sugar and caffeine and probably shouldn’t be attempting this but I have photos of a Christmas puppy that would make a great gif. Thanks!
I finally got something! Thank you, Anna.
https://www.cirquedesurvie.com/new-puppy-for-christmas/
Dear Eloise,
I’m sorry I didn’t get back to you right away, but from what I can tell you are a smart cookie and you figured everything out for yourself right away! Good job!!
And if my post could be of help – I’m really happy 🙂
Great GIF by the way!!! The puppy is so cute <3 🙂
Good luck in your creations!
-Anna.