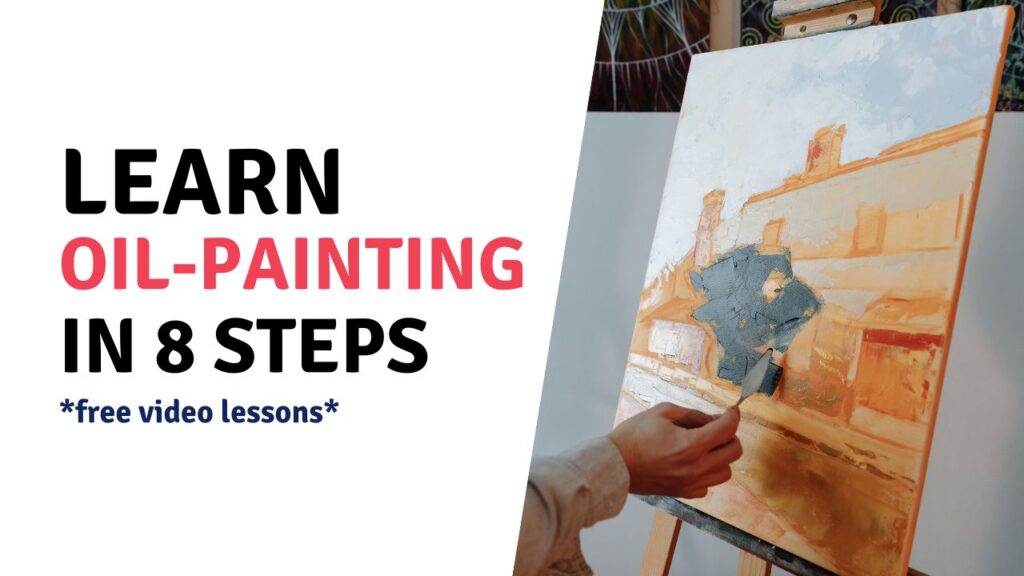
Check out these free oil painting tutorials on YouTube to improve your skills! I’ve broken them down into 8 categories so you can learn oil painting from all angles step by step.
Why Oil Paint?
Maybe because we want to feel like the Renaissance Masters, or it’s the slow-drying process, or the longevity it allows or just the feel of it?
No matter what your answer is, we are all here to learn!
When one can’t afford or simply doesn’t want to go to art school to study, the 21st century offers a simple answer – YouTube it!
Nowadays, people build houses, self-develop, and study all sorts of interesting stuff in one large community of people/teachers that the platform gives us.
However, there are so many videos and so little time. In order to save you a few hours of your life and a bunch of struggles finding some useless material – I’ve collected the most helpful (in my opinion) Oil Painting Tutorials from YouTube and sorted them out as a step-by-step learning process.
Now, you can treat it as if this is was an outline of your Oil Art course 🙂 Feel free to jump in and start from any point, though. It’s all up to you!


Best Oil Painting Tutorials on YouTube – 7 Categories
Let’s take it step-by-step and learn to paint with oil paints with the free tutorials below that I hand-picked for you.
Ready?
Step 1: Know Your Supplies!
There are a couple of things that will make your life easier when you paint, and here is a list that Robin Clonts mentions in her “Beginner Oil Painting – Supplies” video :
1. Pallet
2. Pallet Knife
3. Paints (she uses Grumbacher and Winsor & Newton )
4. Medium: Liquid (speeds drying, improves the paint movement and adds glossiness!)
5. Surface to paint on it!
6. Rag
7. Brushes
8. Razor Pallet Scraper
9. Silicoil Brush Cleaning Tank
Also, it might be interesting for you to check out:
- Top 13 Oil Painting Supplies List
- Buying Oil Paint: 8 Things You Need To Know
- 5 Best Student Grade Oil Paint Brands
- Best Paint Additive To Slow Drying Time For Oils And Acrylics
- Plein Air Oil Painting Supplies You Need To Get Started
Step 2: Begin With The Basics
Brushes, paints, easels, surfaces and what to focus on are all important to understand to ensure your painting process goes as smoothly as possible.
And while there are a lot of things to learn at the beginning, don’t feel overwhelmed. The thing is, once you grasp these concepts once – they’ll be here to stay in your brain for a long-long time.
The video below is great at wrapping your mind around oil painting concepts. I really like it because it summarizes many concepts that can be discussed for a long time into simple points – perfect for beginners!
Here’s what it covers:
- How to pick the perfect brushes for you.
- What paint to choose.
- Easel recommendations and why you should use them.
- Using medium and getting the hang of it.
- What painting surface to choose and why.
- How to properly clean your brushes to preserve them for a longer time.
- What to focus on in your oil painting learning and the strategies to learn faster.
- Painting demo – focusing on shapes and flat colors.
Step 3: Learn Color Mixing
In this “How To Match Any Color With Oil Paint” video by Draw Mix Paint, Mark Carder goes into detail on how to get exactly the color you need for your artwork!
He also explains how to use Colour Wheel in order to stop the guessing game and get right to the color you want!
Even though the video is half an hour long, I believe that if you watch it – you will learn amazing tips and rules along the way.
By following this free tutorial, you will learn a systematic process of mixing colors that you can replicate for any color you will ever need.
Step 4: Discover Techniques
The next video, ” Oil Painting Techniques with Jonathan Hardest,” found on Bobby Chiu channel, will provide you with all the basic techniques you need to have in order to start painting!
Moreover, Jonathan will walk you through the process of painting a portrait of a beautiful lady from start to finish!
Along the way, he mentions how to mix skin tones, get the right consistency of oil for each step and other useful tips, tricks, and techniques you need to know in order to paint successfully with oils.
Also, I believe the video originally belonged to an online art school Schoolism, so you are getting a premium oil painting class for free!
Check it out for:
- Various application methods.
- The process of blocking a subject at the start.
- Using various pressure and mixing to achieve volume.
- Color mixing on the pallet and the canvas.
- Adding finishing touches.
Step 5: Blending and Brushwork
This step is very intertwined with the previous one, but it certainly deserves its own attention.
Beginner artists tend to OVERblend a lot, but it is important to remember that everything has parts that blend into each other, mixed with sharp edges and shapes!
In this short video, “Oil painting techniques: Blending and brushwork” by Lorent Farges – arts, the artist goes over mistakes to avoid when blending.
He demonstrates blending concepts by painting two spheres. The first time he paints a sphere, the artist makes all beginner mistakes, so you know what to avoid. The second time, he shows how to paint and blend colors properly.
Step 6: Building Layers
If you have ever painted digitally before, you know of the amazing feature – layers!
Guess what? They are also very important when painting in oils!
If you haven’t painted digitally and don’t know what I am talking about – don’t worry! Once you figure out the importance and benefits of layers in oils – getting into digital painting will be super easy 🙂
In the “Oil Painting Basics | How To Build Layers” video by the beautiful Lena Danya, you will discover what is underpainting and how to make use of thinning down your oil paint in the beginning stages!
Also, she walks you through the process of creating a stunning rose painting and you can follow her along the way!
She uses Gamblin’s Gamsol solvent to thin the medium, but you can use any other brand you have at hand or none at all.
It’s an older video, but still very educational and enjoyable to watch. If you have any suggestions for updated videos, leave them in the comments section below!
Step 7: Find Your Own Process
From reading books and looking at old master’s paintings to watching videos on YouTube done by people who know what they are doing – there is always something unique to learn from each process.
In order to find what you are most comfortable with, you must learn from many, and your own personal collage of processes will emerge.
And while you learn to paint from many artists, it’s also a wonderful time-saver to learn from their mistakes and discoveries as well.
That’s why the next video on the list is all about the “10 Things I Wish I Knew Before I Started Oil Painting” by Florent Fargas. He shares his discoveries with us, and they are well worth the watch.
Some of the oil painting tips he shares with us:
- the surface you paint on is very important for the final results.
- let the paintings dry, no matter if you dislike the final result.
- don’t go too fluid with your oil paint for better control.
- the best thing is simple: just use oil paint and one medium at first.
- prioritize fun.
- and many more!
The next-in-line video to watch is by a guy you met already – Draw Mix Paint and his video named simply “how to paint in oil”. This is the longest video I picked for you guys, but it is the one that will substitute a very good class in any art college/university.
The reason I say this is because this video is in real-time speed.
The artist explains his process along the way so you don’t have to try and figure out what he is doing using your guessing skills).
Mark Carder also gives multiple tips on textures, colors, measurement, mood, and techniques while giving you the ability to look over his shoulder and follow his entire process. And that is pretty amazing, let me tell you!
Throughout the years, I had attended multiple painting classes, but they weren’t nearly as effective as what this guy gives you in such a short amount of time (you read it right, short based on the value you get)!
Let’s get to it!
Step 8: Practice is Key
You watched all the videos and learned along the way. Now you need to apply all the knowledge.
Practice is the best way to learn, after all. While learning from others will speed up the process!
I’ve picked out three more videos for you to watch at this step. All of them have a different strategy and technique at which they accomplish the final result – check it out!
By watching all four, you’ll most likely be able to tell which resonates with you more – rough or precise underpainting, small or large brushstrokes, working with brushes or palette knives, realistic or abstract work.
Take notes and have fun!
Final Advice
If you went through the 8 categories step-by-step, you should now know all about oil painting supplies, techniques, strategies and processes. I hope this selection of free oil painting tutorial videos inspired you to start painting right away!
I love watching YouTube for educational content, but sometimes it’s not enough to take you to the next level.
So, if you are ready to dive in deeper and grow your oil painting skills faster than ever, check out these premium resources below that I’ve picked for you.
#1. Oil Painting for Beginners with Charles Hu

This course teaches the basics of oil painting from life for beginners and experienced artists. Acclaimed artist and instructor Charles Hu teaches important concepts like gesture, shape design, and composition and provides guidance on materials and paint application techniques.
After taking this course, you will gain the skills needed to paint a variety of subjects from life with diverse palettes and oil painting techniques.
#2. Portrait Painting in Oil with Aaron Westerberg
If you want to take on oil painting with a specialization in portraiture, then this one is a great fit! It’s a Masterpiece Demo by Aaron Westerberg, who has a special talent and appreciation for color.
Key takeaways:
- The Masterpiece Demo allows viewers to watch as Aaron Westerberg creates a masterpiece from scratch, starting with a model photoshoot and a live model color study.
- Watch as he prepares his surface and color palette before creating the final painting, capturing his true studio process.
- Two versions of the demo are available: a 2-hour feature and a 10+ hour real-time version, offering a full experience of the time and effort that goes into a painting of this scale.
.
#3. Photorealistic Oil Painting with Paul Stevens

If your passion lies with photorealistic paintings, this course by Paul Stevens is a wonderful resource to get you going.
Key Takeaways:
- Discover how to transform ordinary scenes into striking photorealistic art using oil layering and blocking techniques.
- Get an overview of the materials and tools needed for the course.
- Discover the principles of design and how to create a dynamic composition.
- Learn how to accurately transfer your reference image onto a canvas and match its colors.
- Follow Christopher’s process of blocking in basic shapes and glazing your painting with thin layers of color to achieve a photographic feel.
- Gain insights into how to protect your work from damage with varnish and present your art effectively through social media or galleries.
- Create a realistic oil painting that, at first glance, appears to be a photograph.
- 2 hours of content in the standard version and over 10 hours in the real-time version, allowing you to appreciate the entire process of creating a masterpiece.
No prior knowledge is needed, but basic notions of drawing and painting will be helpful.
Use 10% OFF promo code: YOURARTPATH-10
(can be used ON TOP of any offer)


6 Responses
I have always wanted to paint in oil but never knew some of the techniques that are used to do this. You definitely hit this right in the nail and I think it is important to know some of these concepts so it can be helpful when painting with oil. Good job and keep it going.
Thank you, Martin!
I’m glad you enjoyed this little tutorial 🙂
Good luck in your learning!
Thank you so much for the time you must have spent putting this all together!!
I watched it from start to finish.
I feel I have a bit more knowledge to continue my art journey with a bit more confidence.
I have saved this so I can come back if I need to !
Thank you so much for stopping by Cheryl!
And I’m glad you found this information useful :))
it seems you can really teach us a great deal about how to paint well.But it would help english people like me if you could slow down and modulate your voice,so that we can understand more of what you are so generously sharing with us.
Chris, thank you for the feedback! I’ll try my best 🙂